This time I decided to devote a separate topic to generate a Private Key and CSR. In the world of DevOps, security certificates are something you deal with on a daily basis, so knowing how to get an SSL certificate and convert it into a proper format is critical. Despite many similar topics over the internet, people still can’t make heads and tails around this theme and the explanation below is called to resolve this issue. Here’s some input before we begin:
- Environment: Window 10 machine
- SSL certificate provider: GoDaddy (can be any)
- Additional tools: DigiCert Utility/IIS and Certificate Manager, cmder (console emulator)
Before you begin, make sure you’re applying for the right certificate type: one website (secures one domain) or domain name with multiple subdomains, i.e. a ‘wildcard’ certificate.
NOTE: A Wildcard SSL protects your primary domain and an unlimited number of its subdomains. For example, a single Wildcard Certificate can secure both ‘www.strive2code.com’ and ‘blog. strive2code.com’.
Wildcard certificated are normally multiple times more expensive (may vary depending on the provider), so you should think carefully about the business necessity.
After the payment, the certificate comes ‘uninitialized’, i.e. you’d need to provide a domain name to initialize an SSL certificate. Just like others, GoDaddy will ask you to provide a so-called CSR to proceed.
NOTE: CSR (or certification request) is a message sent from an applicant to a certificate authority in order to apply for a digital identity certificate. In other words, you encode the information about your domain, company, location etc. in the Base64 format in order to apply for an SSL certificate.
I prefer to use DigiCert for the purpose, as it has a lot more functions, other than generating a CSR. The util download link can be found above in the input information. The drill is very well explained on their website. The only comment from my end is all about entering the fully-qualified domain name (FQDN) (e.g., www.strive2code.com) in the ‘Common name’ field. In case you’re applying for a wildcard certificate, you should enter ‘*.strive2code.com’, i.e. explicitly stating this is a wildcard one. All the rest is straightforward.
The same thing can be achieved via IIS. Win+R, enter ‘inetmgr’ to run the IIS console. Keeping the cursor on the root node, find the ‘Server certificates’ feature and in the ‘Actions’ panel, select ‘Create Certificate Request…’ link (the info required for the CSR is all the same).
NOTE: It’s a good practice to store the CSR generated in a ‘txt’ file for your records or in case you may require it later.
Now you can go ahead and insert the CSR into the respective field on the GoDaddy website to complete the SSL initialization (having all this info, it’ll initialize the certificate for the right domain). Provider states it may require up to 72h to complete the initialization, however, in my case, it took less than 15min. Once done, your certificates would be ready to download. Select your domain from the list and click on the ‘Download’ tile. It’ll ask you to choose the server type from the drop-down list (and you can simply select IIS). Once downloaded and unpacked, we can move forward with the private key generation. If you did everything right, you should see the following list in front of you:
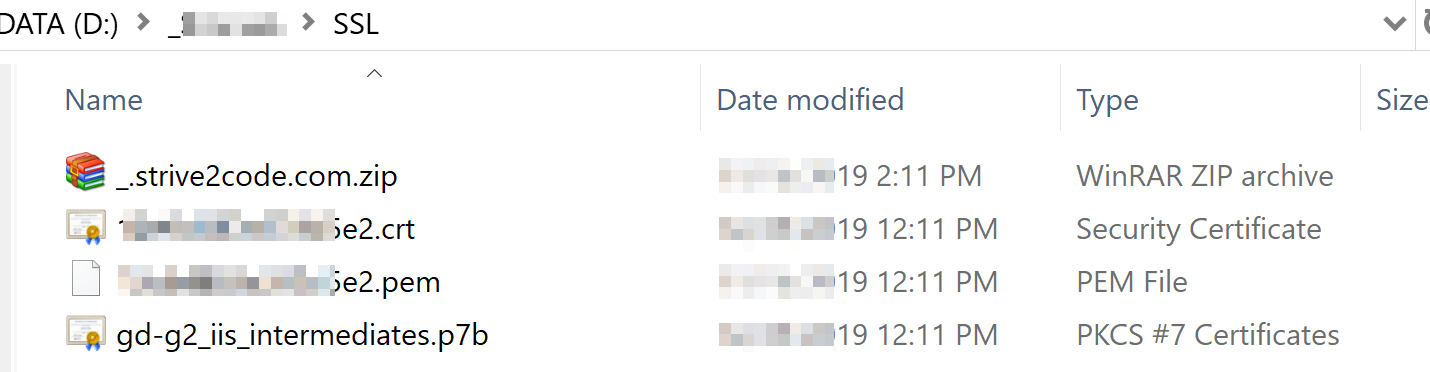
Using the GoDaddy website (or whichever provider you’re using for the purpose), you can download all sorts of certificates, according to the list in ‘Appendix A.’ below. However, you won’t see a ‘.key’ or ‘.pfx’ file in those bundles because they’re not included. Documentation on DigiCert website states: All SSL Certificates require a private key to work. The private key (’.key’) is a separate file that's used in the encryption/decryption of data sent between your server and the connecting clients. A private key is created by you — the certificate owner when you request your certificate with a Certificate Signing Request (CSR). To perform a domain name binding to an SSL certificate in IIS, you’d need a ‘.pfx’ file. Let’s focus on getting this one and the ‘.key’.
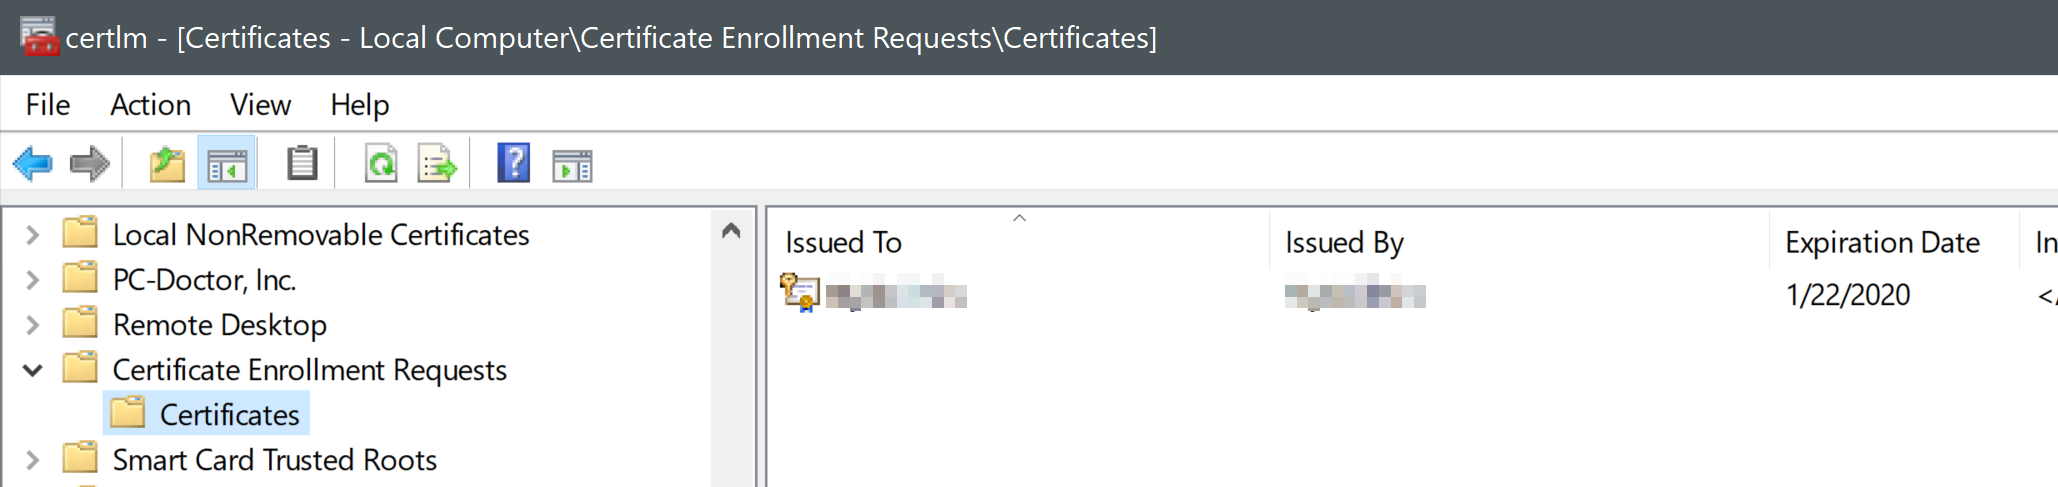
No matter what tool did you use to create a CSR, you should be able to see the enrollment request in the ‘Certificates Manager’. Win + R, enter ‘certmgr’ to call respective console. In the list of directories, find ‘Certificate Enrollment Requests’ and your certificate on the right-hand panel:
The sequence would be the following:
NOTE: First, we’ll get a ‘.pfx’ -> then generate ‘.pem’ file -> then we’ll convert it into a ‘.key’
Right-click on the certificate that was generated along with CSR (Certificate Enrollment Requests) and select ‘All tasks’ -> ‘Export’. At first, let’s export a Private Key Certificate (.pfx) by selecting ‘Yes, export the private key’ radio button in the wizard. Leave the values on the next screen unchanged and check the ‘Password’ checkbox on the next screen to choose the certificate password. Complete the export operation by specifying the target directory to save it (store it in the same folder with downloaded certificates for the consistency sake).
To perform a domain name binding in Azure, for instance, you may need a Public Key certificate as well (.cer), so, being on the same screen, export the same certificate from the list, but select ‘No, do not export the private key’ radio button this time. Choose ‘Base64 encoded X.509 (.CER)’ from the list and complete the export operation as already described above.
We’re done with certs export procedures and now we can go ahead with ‘.pem’ file generation (see more about the certificate types in Appendix A. below). We’ll be using cmder (console emulator) listed above among the tools as it already has ‘openssl’ util built-in. So, using just downloaded ‘.pfx’ file:
openssl pkcs12 -in strive2code.pfx -nocerts -out key.pem
Having ‘.pem’ file, we’re good to execute the next command to generate a ‘.key’:
openssl rsa -in key.pem -out strive2code.key
That’s all! Now you’ve got all sorts of certificated that are ready to be applied either on the local or the cloud server.
To wrap up, I mentioned SSL/TLS at the very beginning. Just to clarify this statement a bit… SSL and TLS are both cryptographic protocols that provide authentication and data encryption between servers, machines and applications operating over a network (e.g. a client connecting to a web server). SSL is the predecessor of TLS. Both SSL 2.0 and 3.0 have been deprecated by the IETF a while ago (2015) and before anyone starts worrying that they need to replace their existing SSL Certificates with TLS Certificates, it’s important to note that certificates are not dependent on protocols. That is, you don’t need to use a TLS Certificate vs. an SSL Certificate.
Good luck!
Appendix A. Certificate types
Different Platforms & Devices requires SSL certificates in different formats
- Windows Servers use ‘.pfx’ files
- Apache Servers use ‘.crt’, ‘.cer’ files
NOTE: The only way to tell the difference between PEM .cer and DER .cer is to open the file in a Text editor and look for the BEGIN/END statements.
PEM Format
It is the most common format that Certificate Authorities issue certificates in. It contains the ‘—–BEGIN CERTIFICATE—–” and “—–END CERTIFICATE—–” statements. PEM or Privacy Enhanced Mail is a Base64 encoded DER certificate. PEM certificates are frequently used for web servers as they can easily be translated into readable data using a simple text editor.
Several PEM certificates and even the Private key can be included in one file, one below the other. But most platforms(eg:- Apache) expect the certificates and Private key to be in separate files.
- They are Base64 encoded ASCII files
- They have extensions such as .pem, .crt, .cer, .key
- Apache and similar servers use PEM format certificates
DER Format
It is a Binary form of ASCII PEM format certificate. All types of Certificates & Private Keys can be encoded in DER format
- They are Binary format files
- They have extensions .cer & .der
- DER is typically used in Java platform
P7B/PKCS#7
They contain “—–BEGIN PKCS—–” & “—–END PKCS7—–” statements. It can contain only Certificates & Chain certificates but not the Private key.
- They are Base64 encoded ASCII files
- They have extensions .p7b, .p7c
- Several platforms support it. eg:- Windows OS, Java Tomcat
PFX/PKCS#12
They are used for storing the server certificate, any Intermediate certificates & Private key in one encryptable file.
- They are Binary format files
- They have extensions .pfx, .p12
- Typically used on Windows OS to import and export certificates and Private keys
Should you have any questions, please feel free to contact me via the form provided in the blog or post it right here.